In Siril, there are now many ways and even more tools to stretch a linear image. Here, I would like to present my personal sequence – a fixed workflow that works best for me. Since my focus is on the common thread, I won't explain every tool in detail, but rather concentrate on the steps that transform a raw stack into a beautiful work of art.
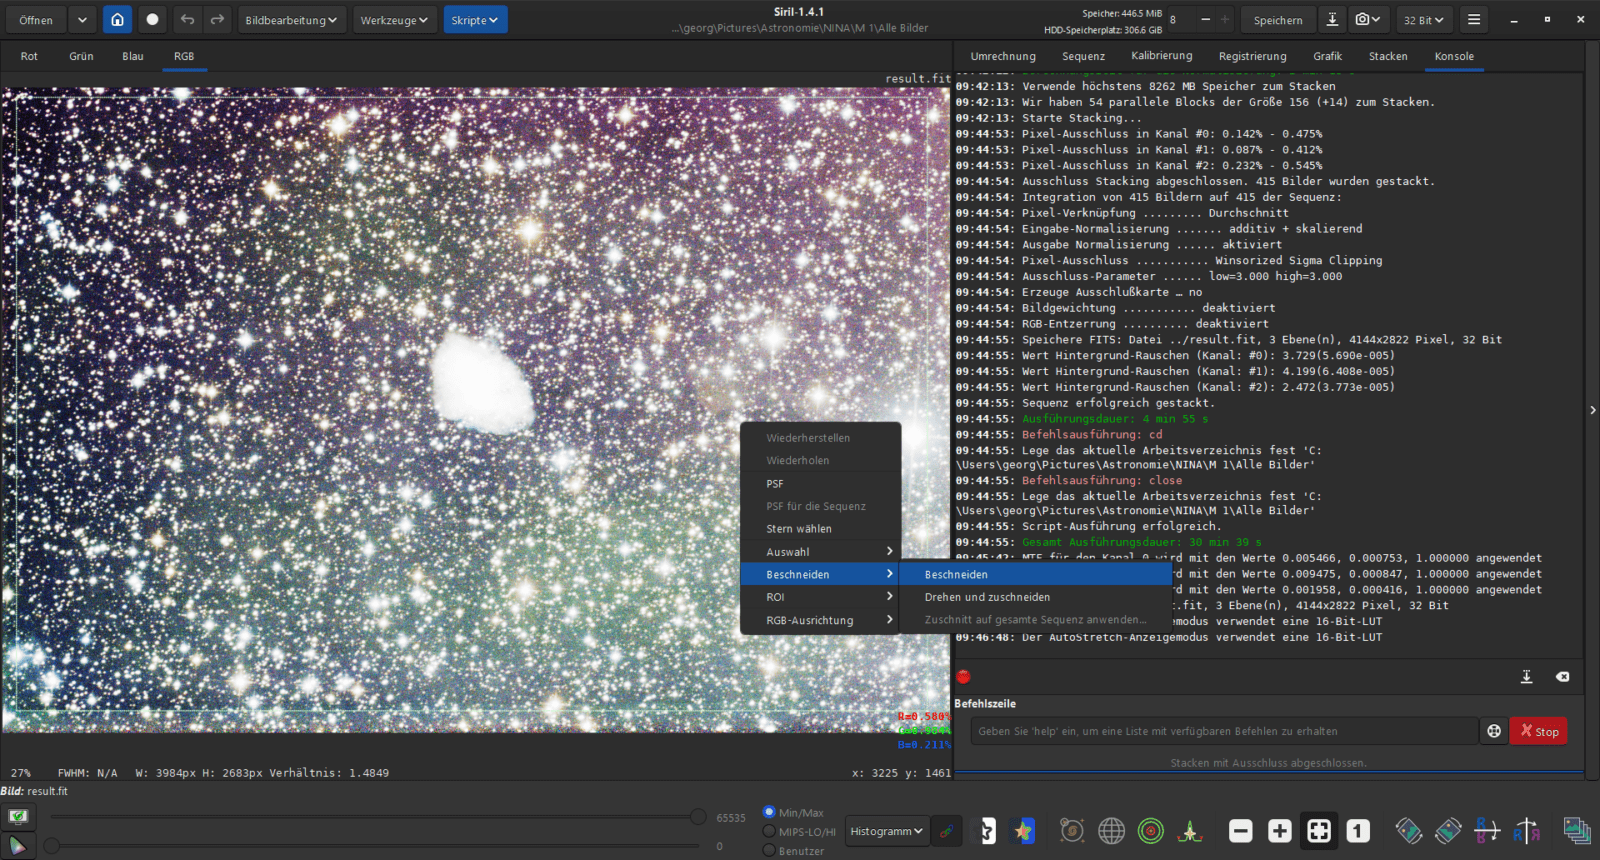
Cropping
Cropping is basically the first step that should always be done after stacking.
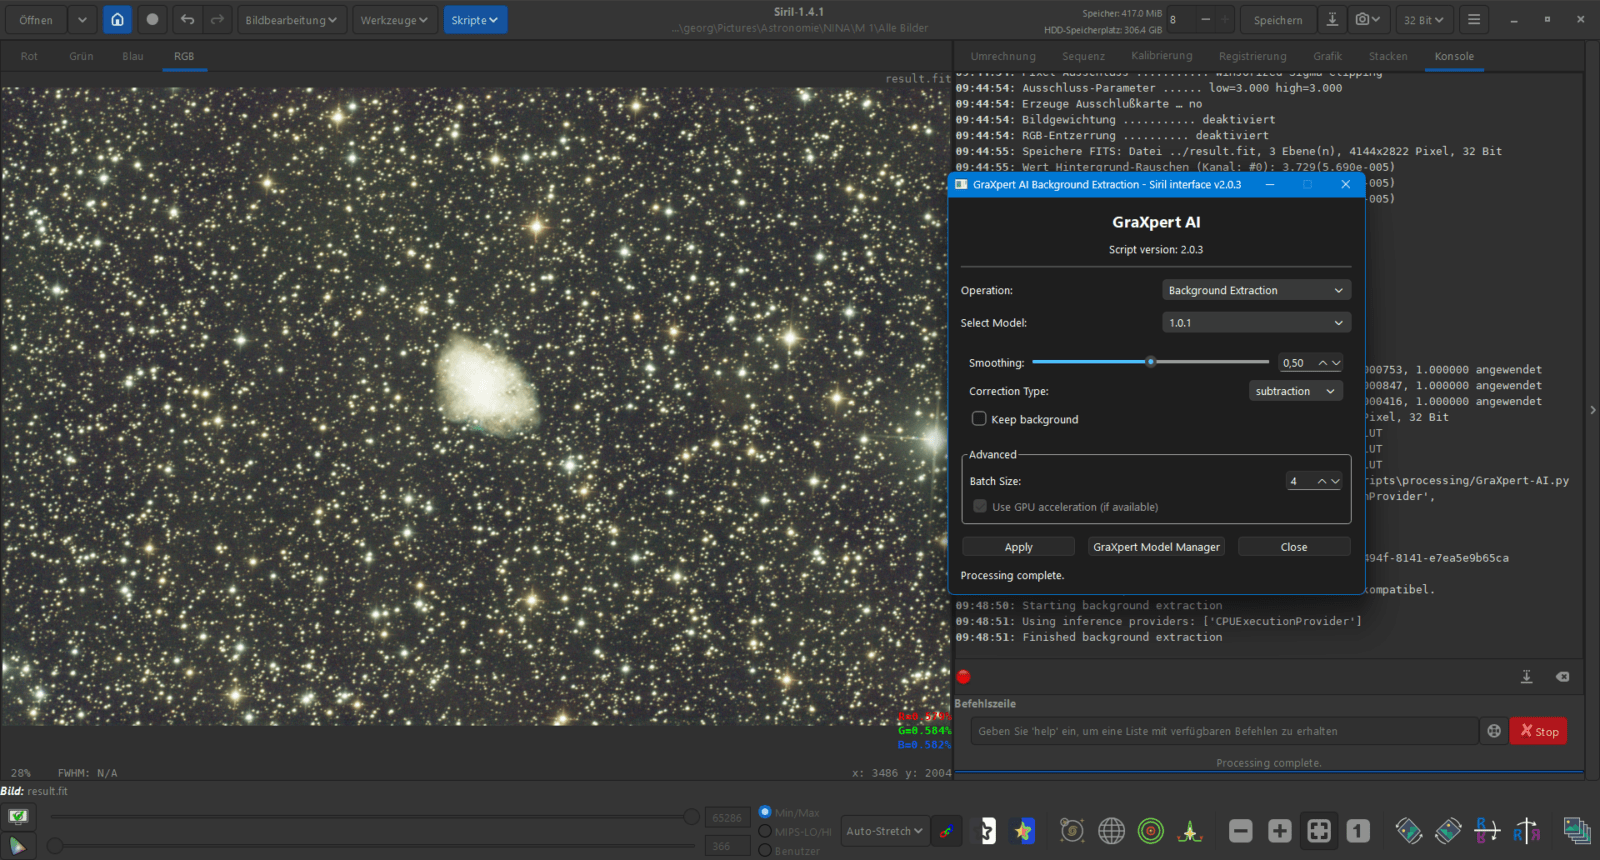
Background Extraction
The second step is always background extraction, for which I use GraXpert. (Scripts – Python Scripts – Processing – GraXpert-AI)
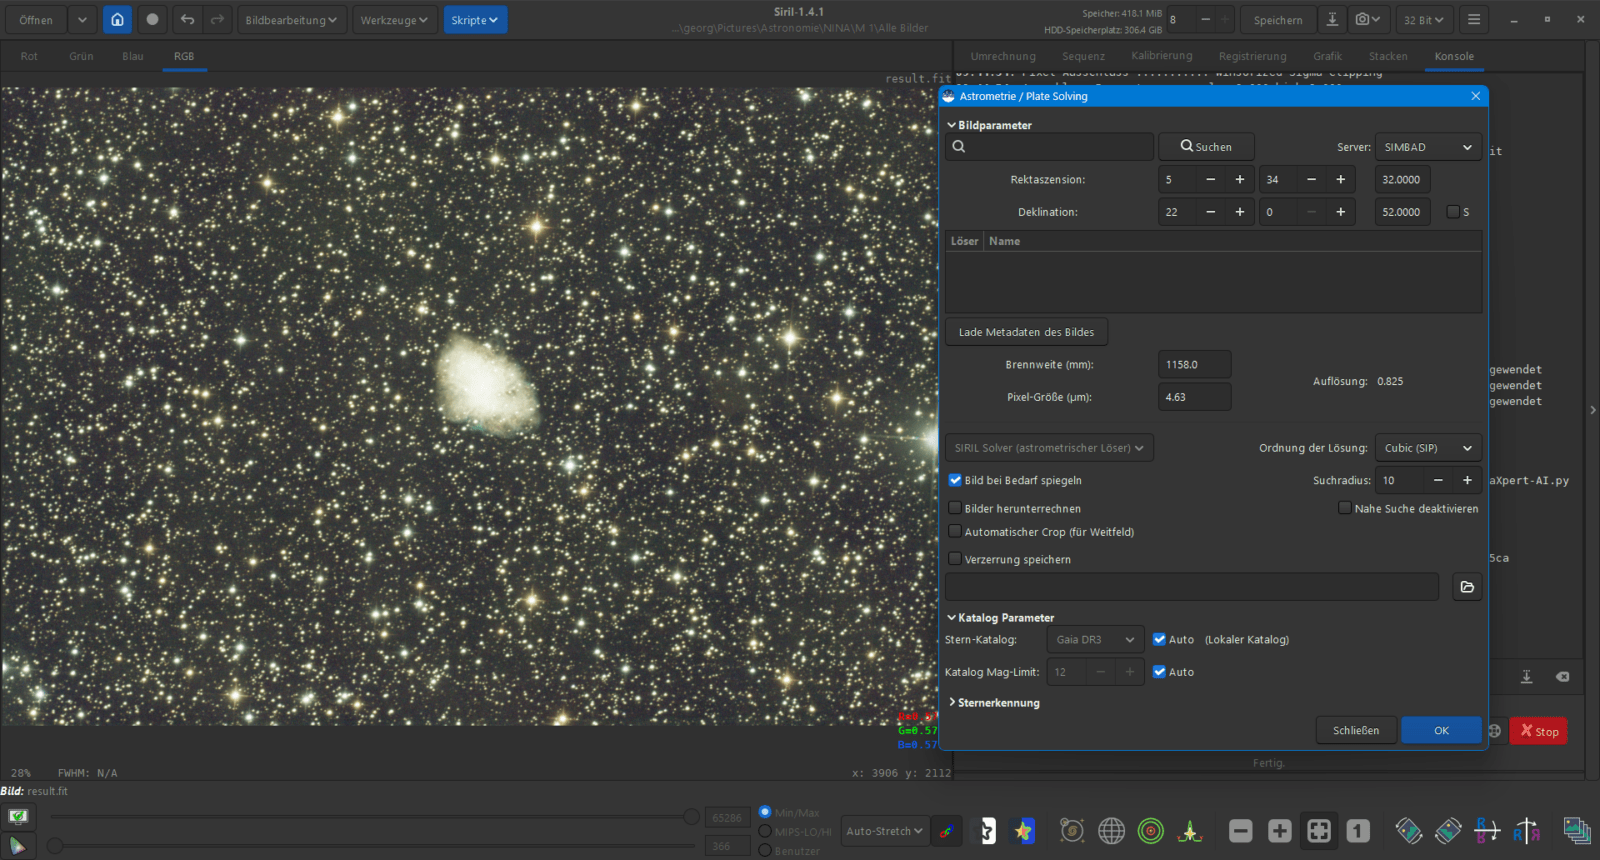
Plate Solving
Afterwards, the image is astrometrically solved. (Werkzeuge – Astrometrie – Astrometrische Lösung)
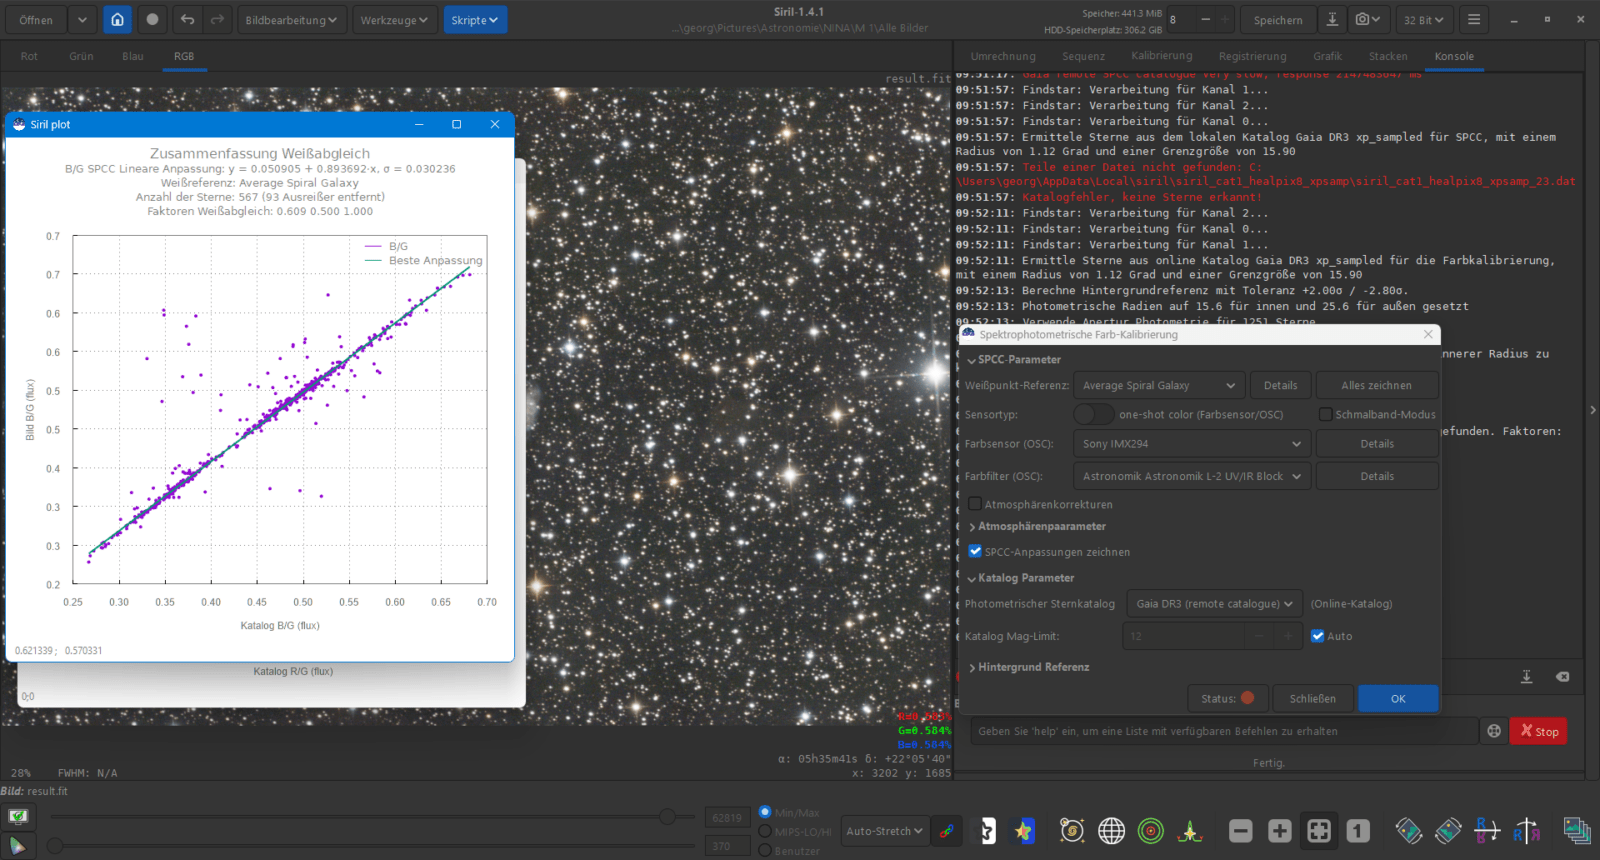
Spectrophotometric Color Calibration
Afterwards, you perform the color calibration for natural-looking colors. (Image Processing – Color Calibration – Spectrophotometric Color Calibration)
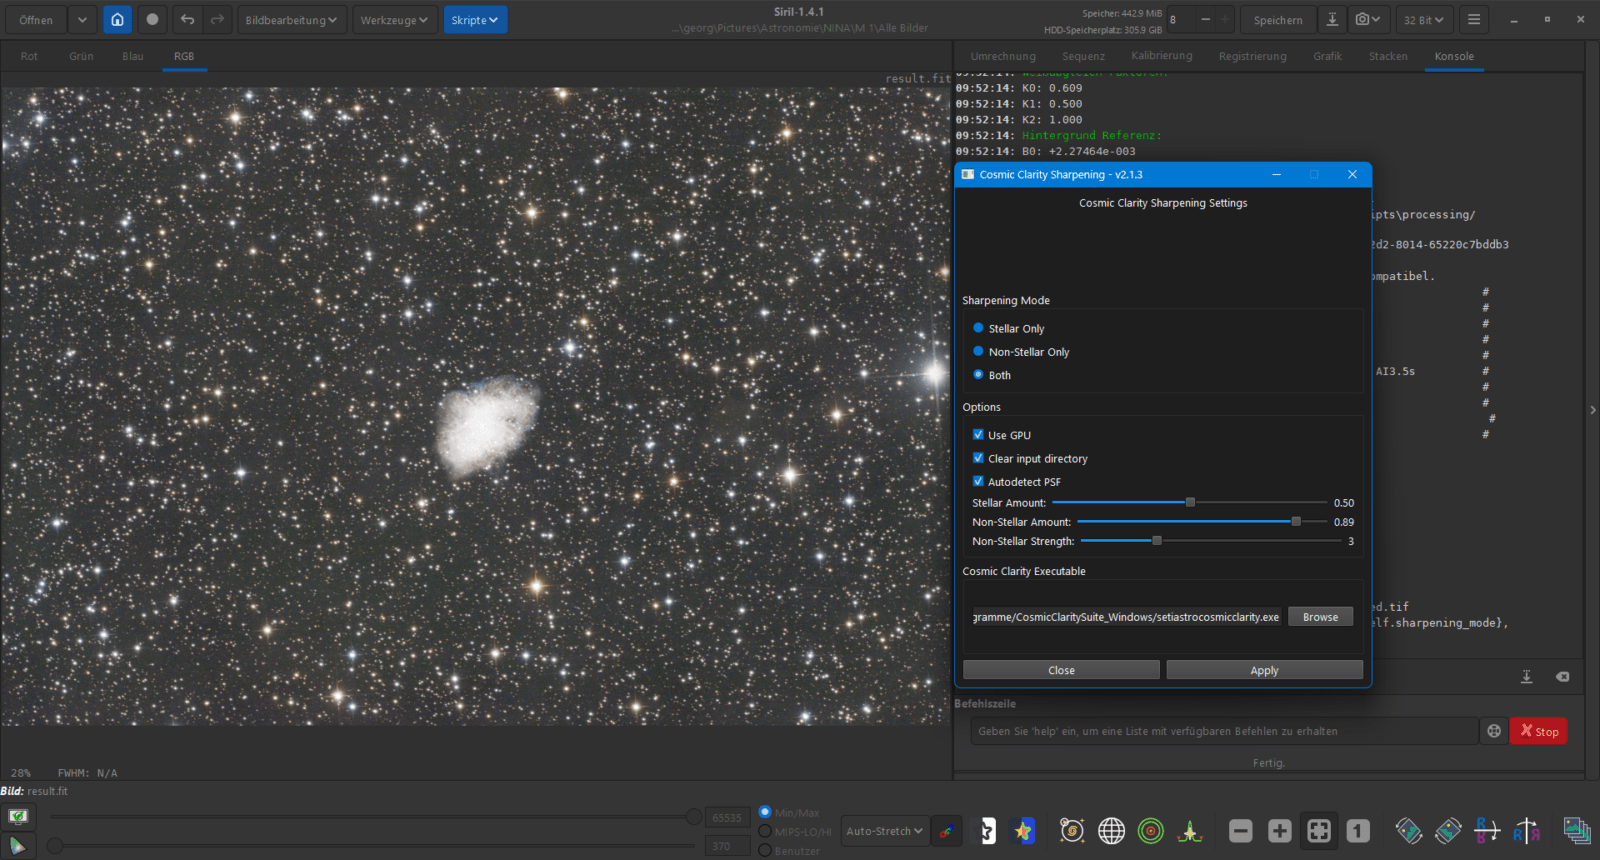
Sharpening the image
My next step is sharpening the image while it is still linear using Cosmic Clarity Sharpening. Here I select the "Both" option and slightly increase the "Non Stellar Amount." (Scripts – Python Scripts – Processing – CosmicClarity_Sharpen)

Denoising the image
Only now do I perform a denoise using GraXpert. (Scripts – Python Scripts – Processing – GraXpert-AI)
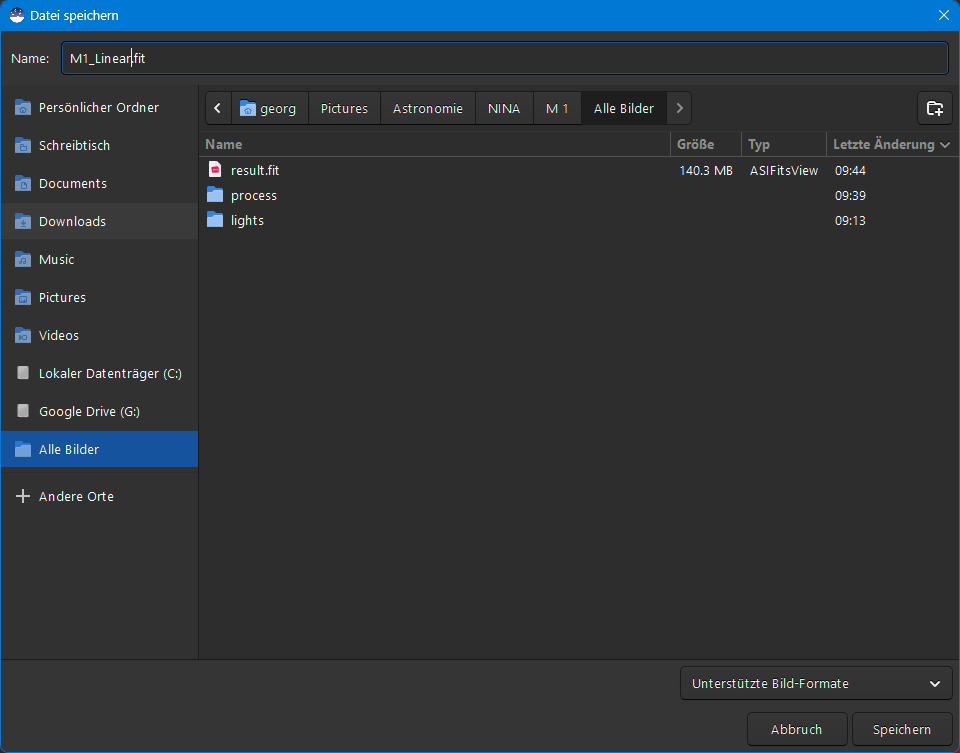
Saving the linear image
I save the intermediate result as a 32-bit FITS file.
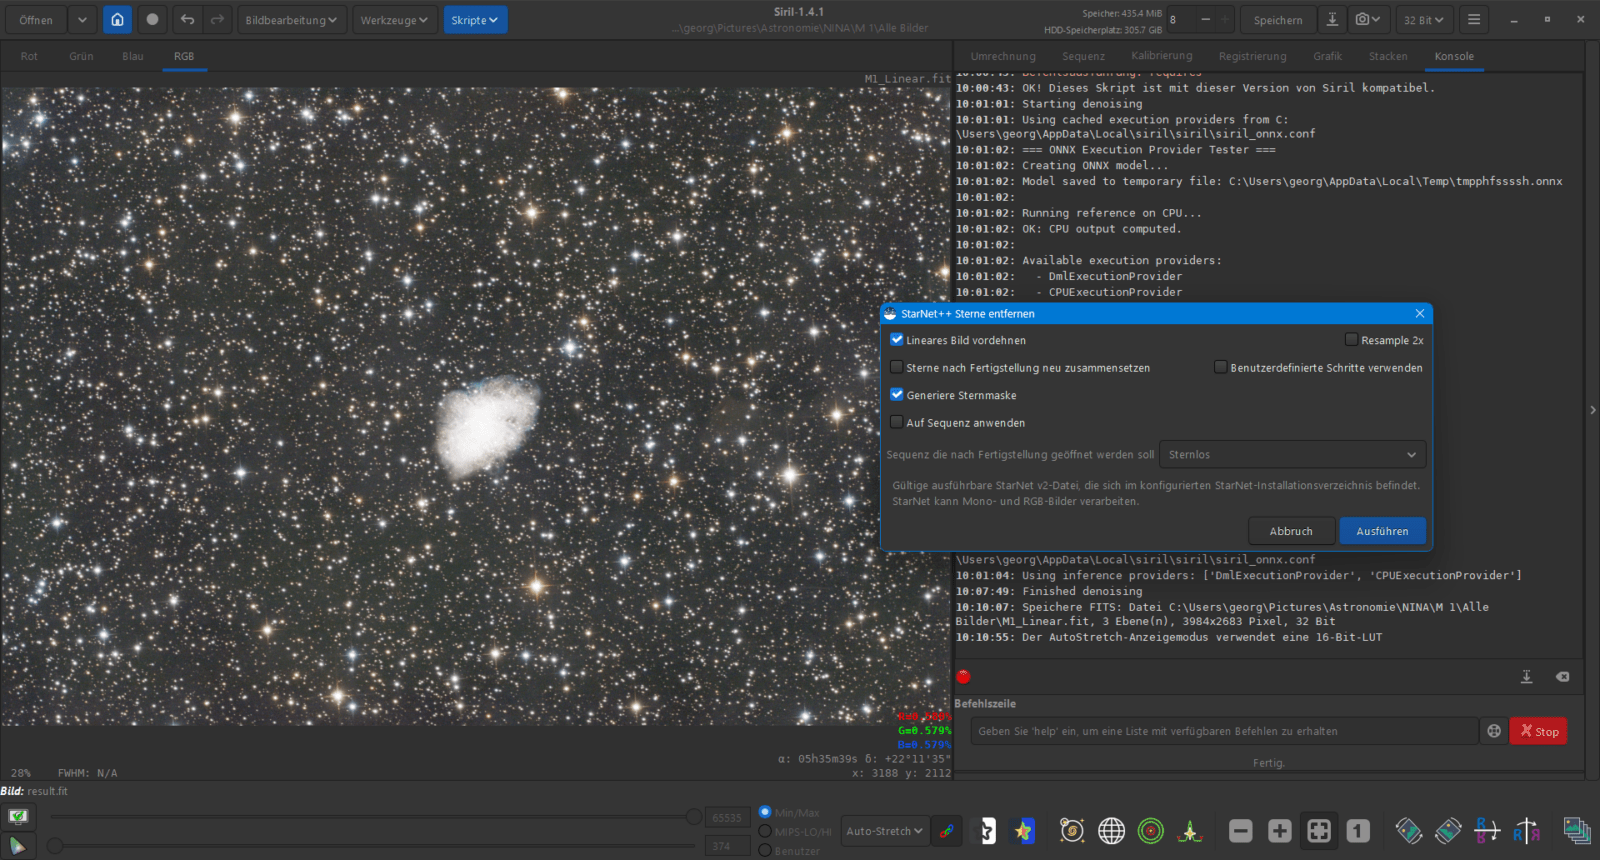
Star Removal
Using Starnet++, I cleanly separate the stars from the background. (Image Processing – Star Processing – Starnet Star Removal)
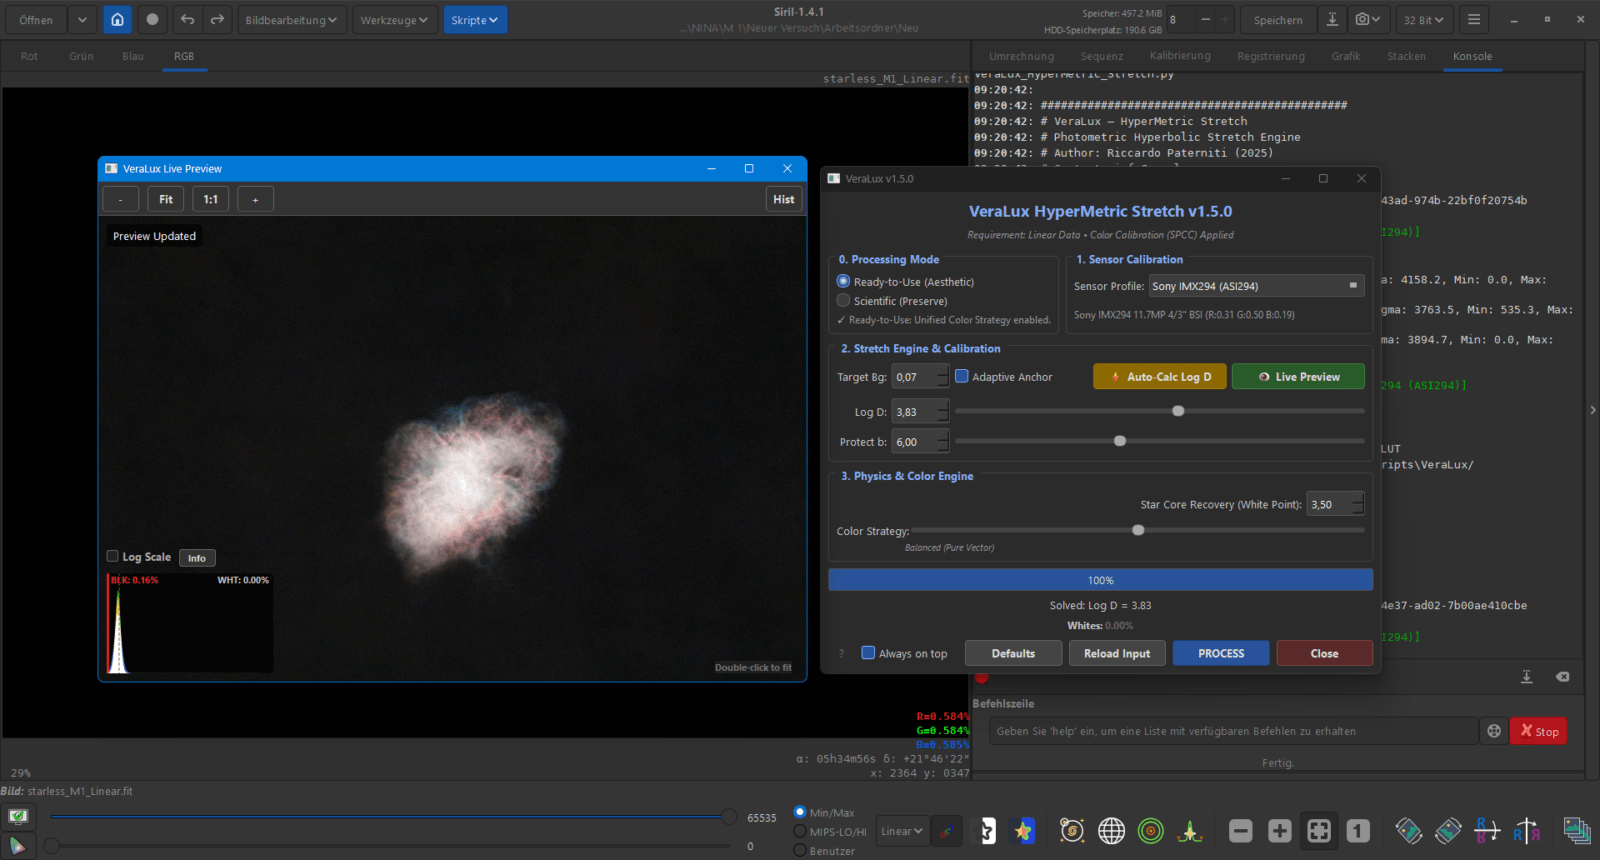
VeraLux Hypermetric Stretch
With Hypermetric Stretch I perform an "Auto-Calc Log" and check the object in the Live Preview. I select the degree of stretching via "Target Bg" and adjust using "Log D" the color saturation manually. (Scripts – Python Scripts – VeraLux – VeraLux_HyperMetric_Stretch)
Important Note: After the Hypermetric Stretch, you must manually save the stretched image once (e.g., as starnetless_stretched.fits), so that you can select the file as the background in the StarComposer in the next step.
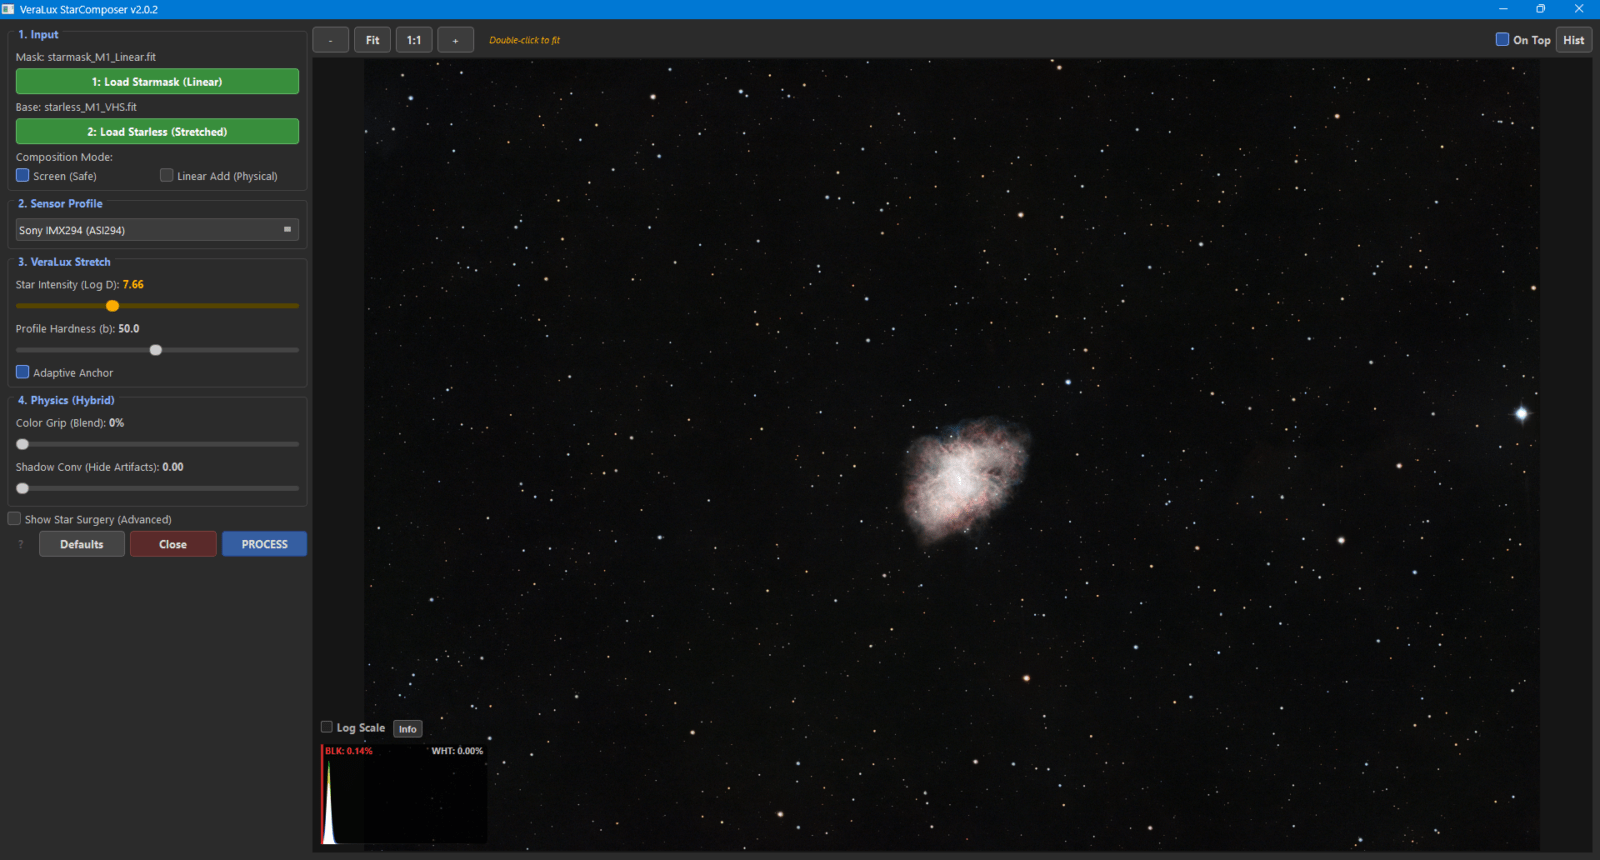
Star Composition
Afterwards, I combine the stretched image and the stars with the VeraLux StarComposer back together. (Scripts – Python Scripts – VeraLux – VeraLux_StarComposer)
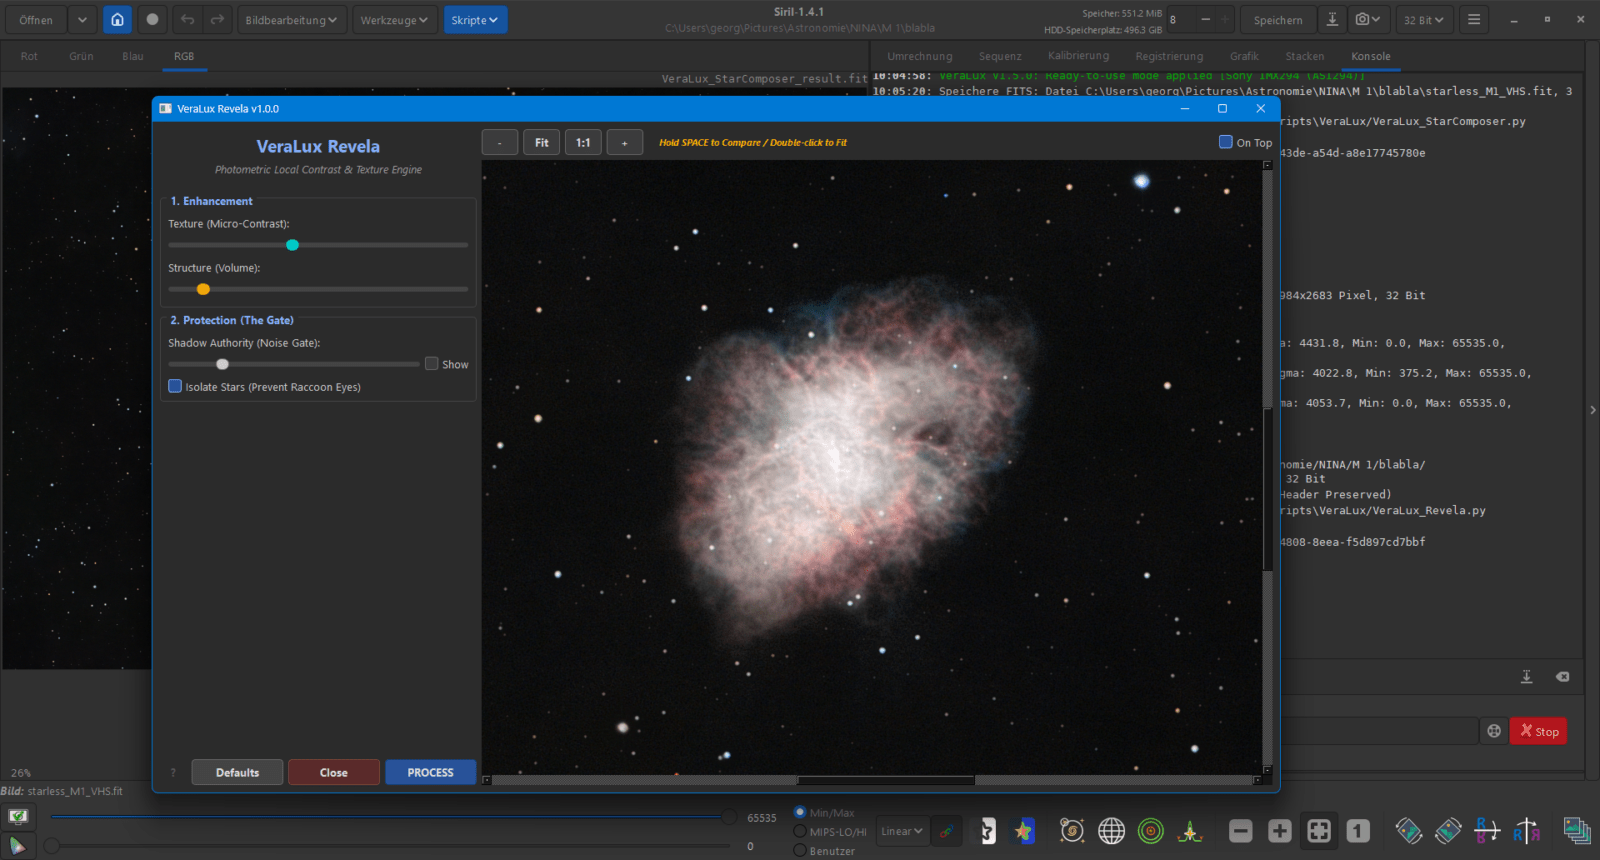
VeraLux Revela
With VeraLux Revela I bring out fine details and faint nebula structures properly. (Scripts – Python Scripts – VeraLux – VeraLux_Revela)
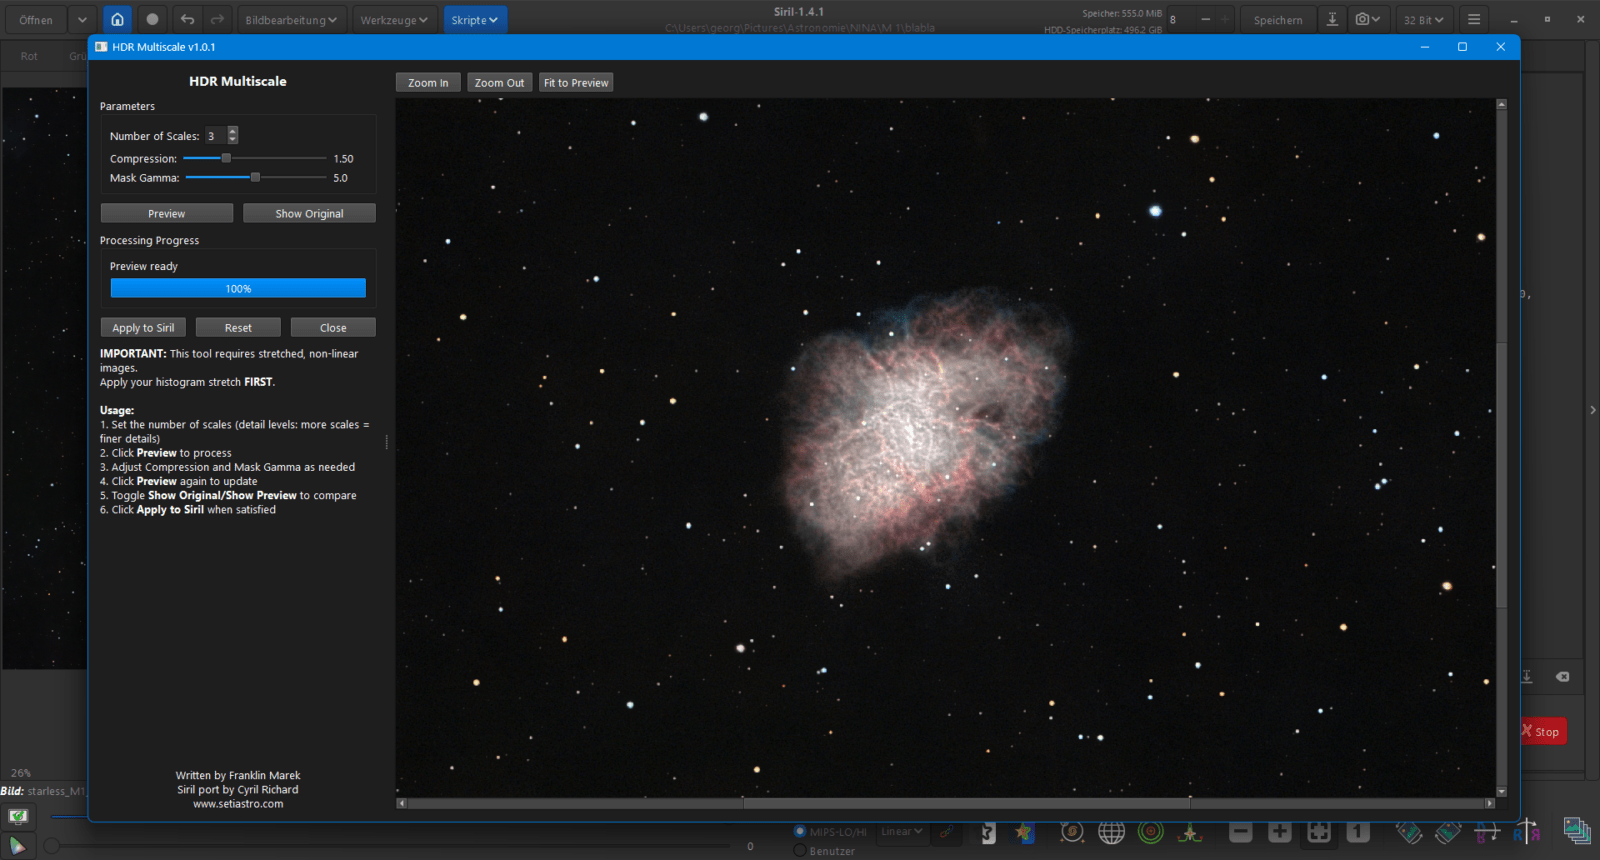
HDR Multiscale Transform
With HDR Multiscale I tame bright centers while simultaneously increasing the contrast within the structures. (Scripts – Python Scripts – Processing – HDR_multiscale)
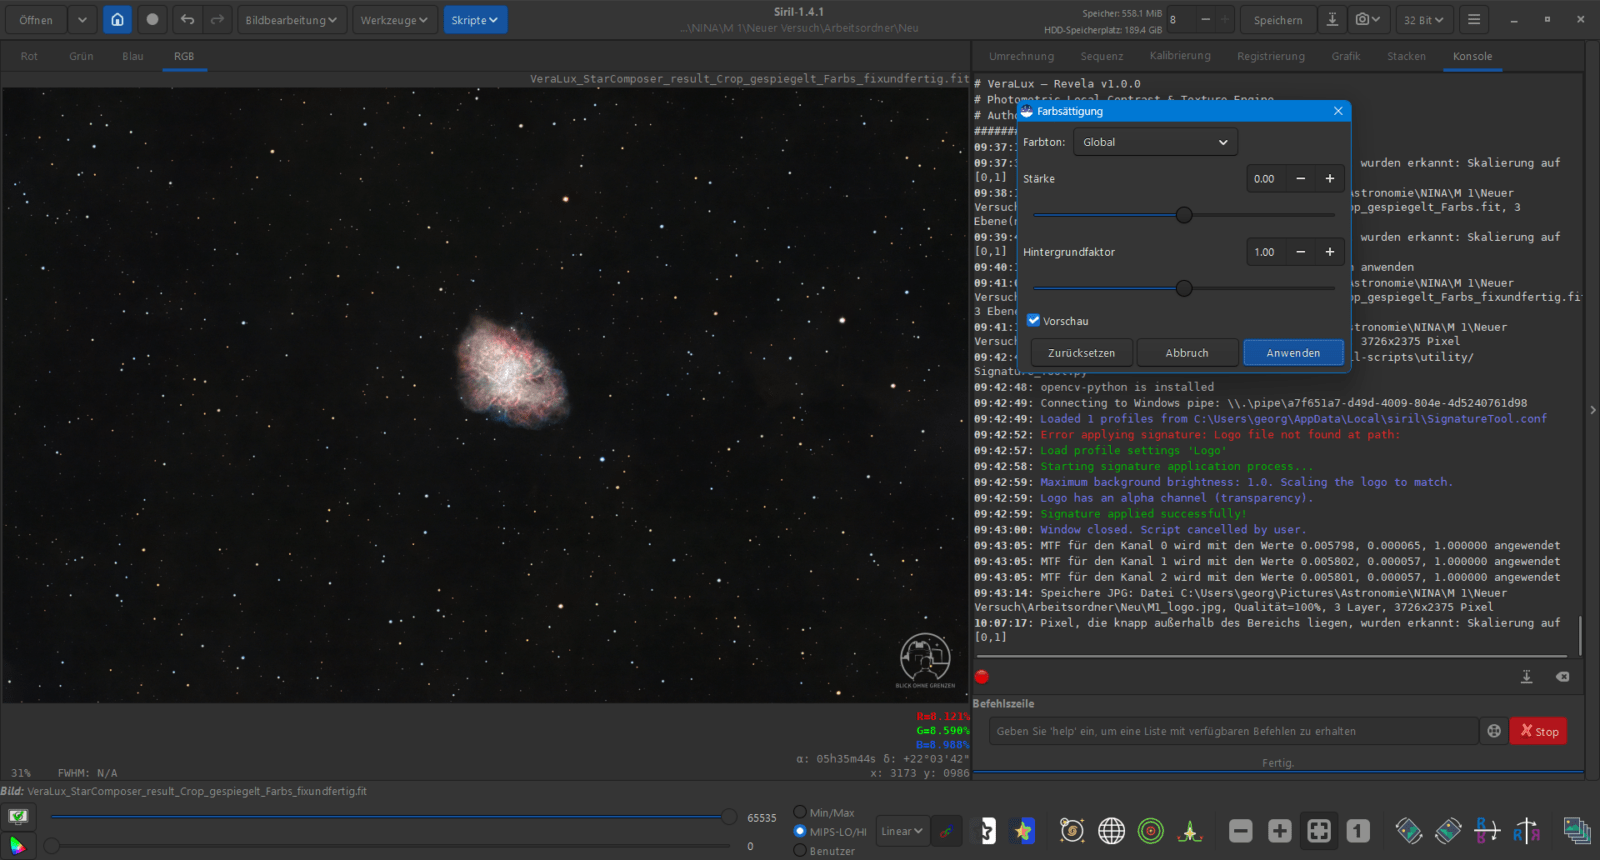
Fine-tuning
Finally, corrections to the color saturation, final denoising, signatures, or mirroring the image follow as needed.
That’s basically it. I have noticed that fewer artifacts on the stars, such as halos or black edges, occur when I reinsert the stars immediately after the initial stretching of the background and then proceed with the fine-tuning.
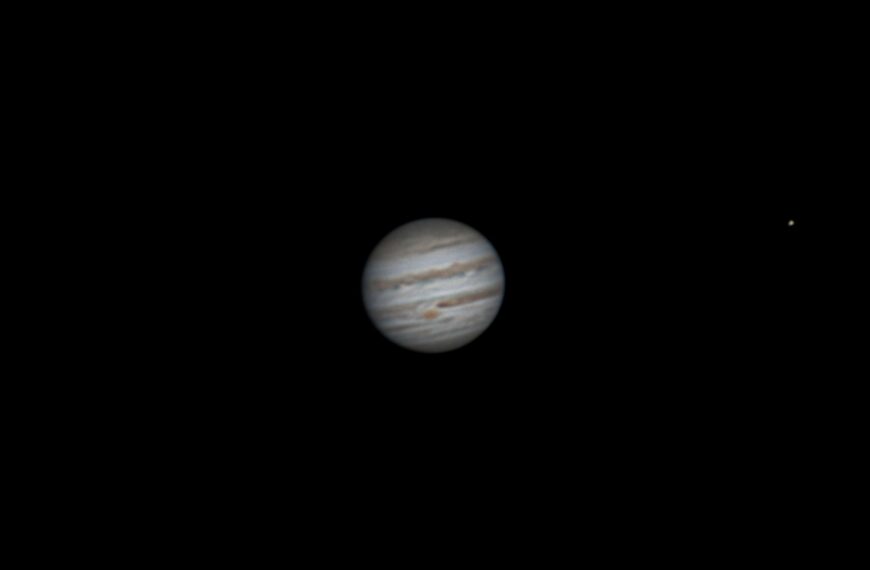
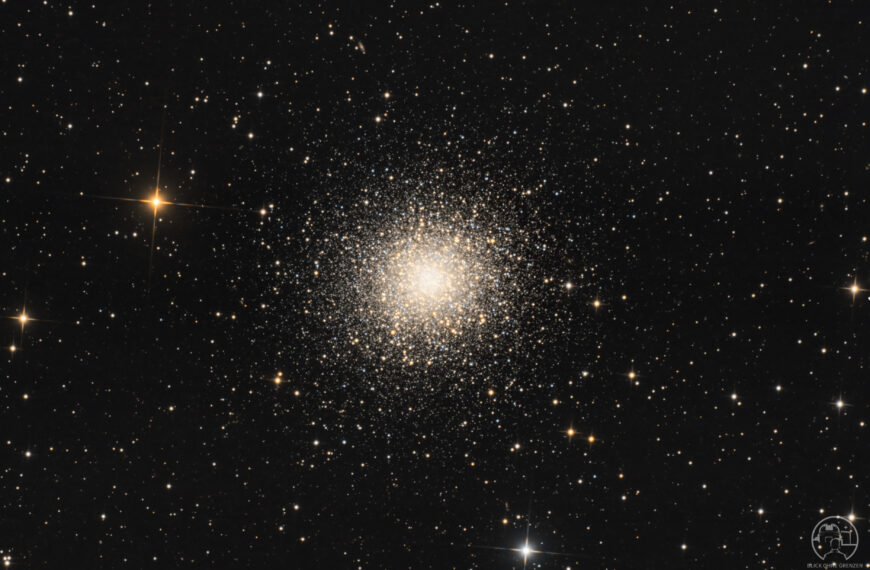
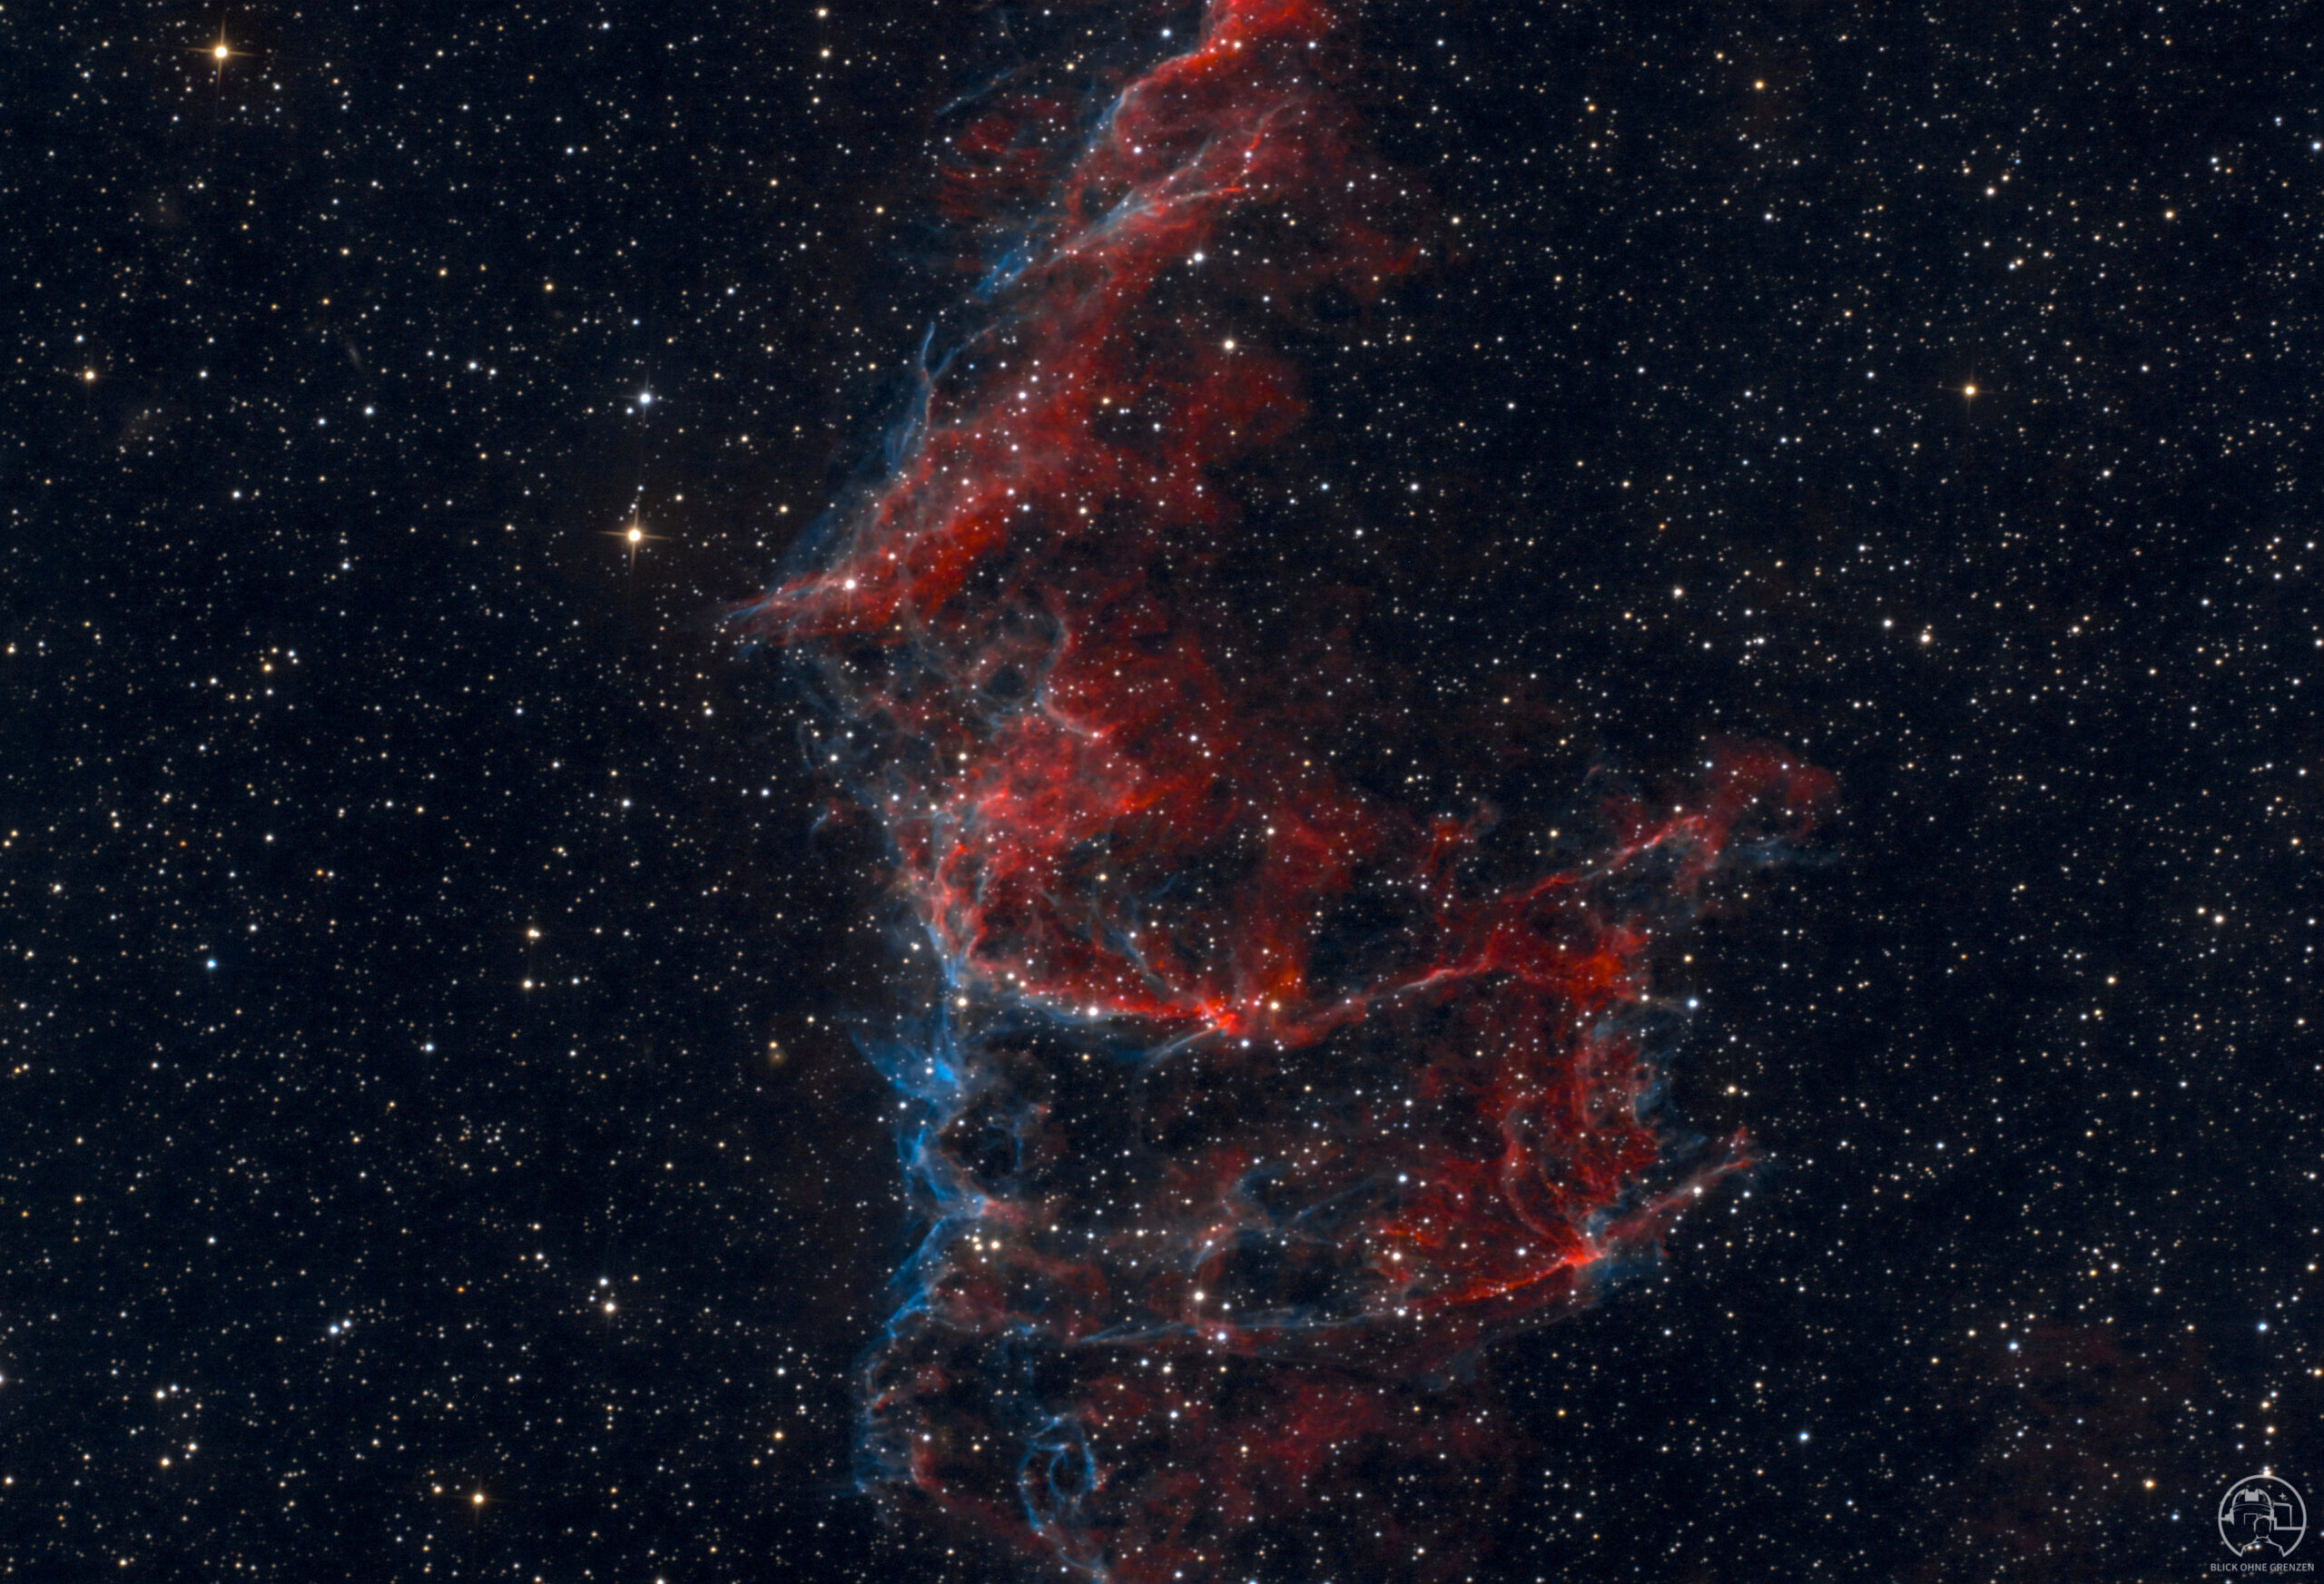
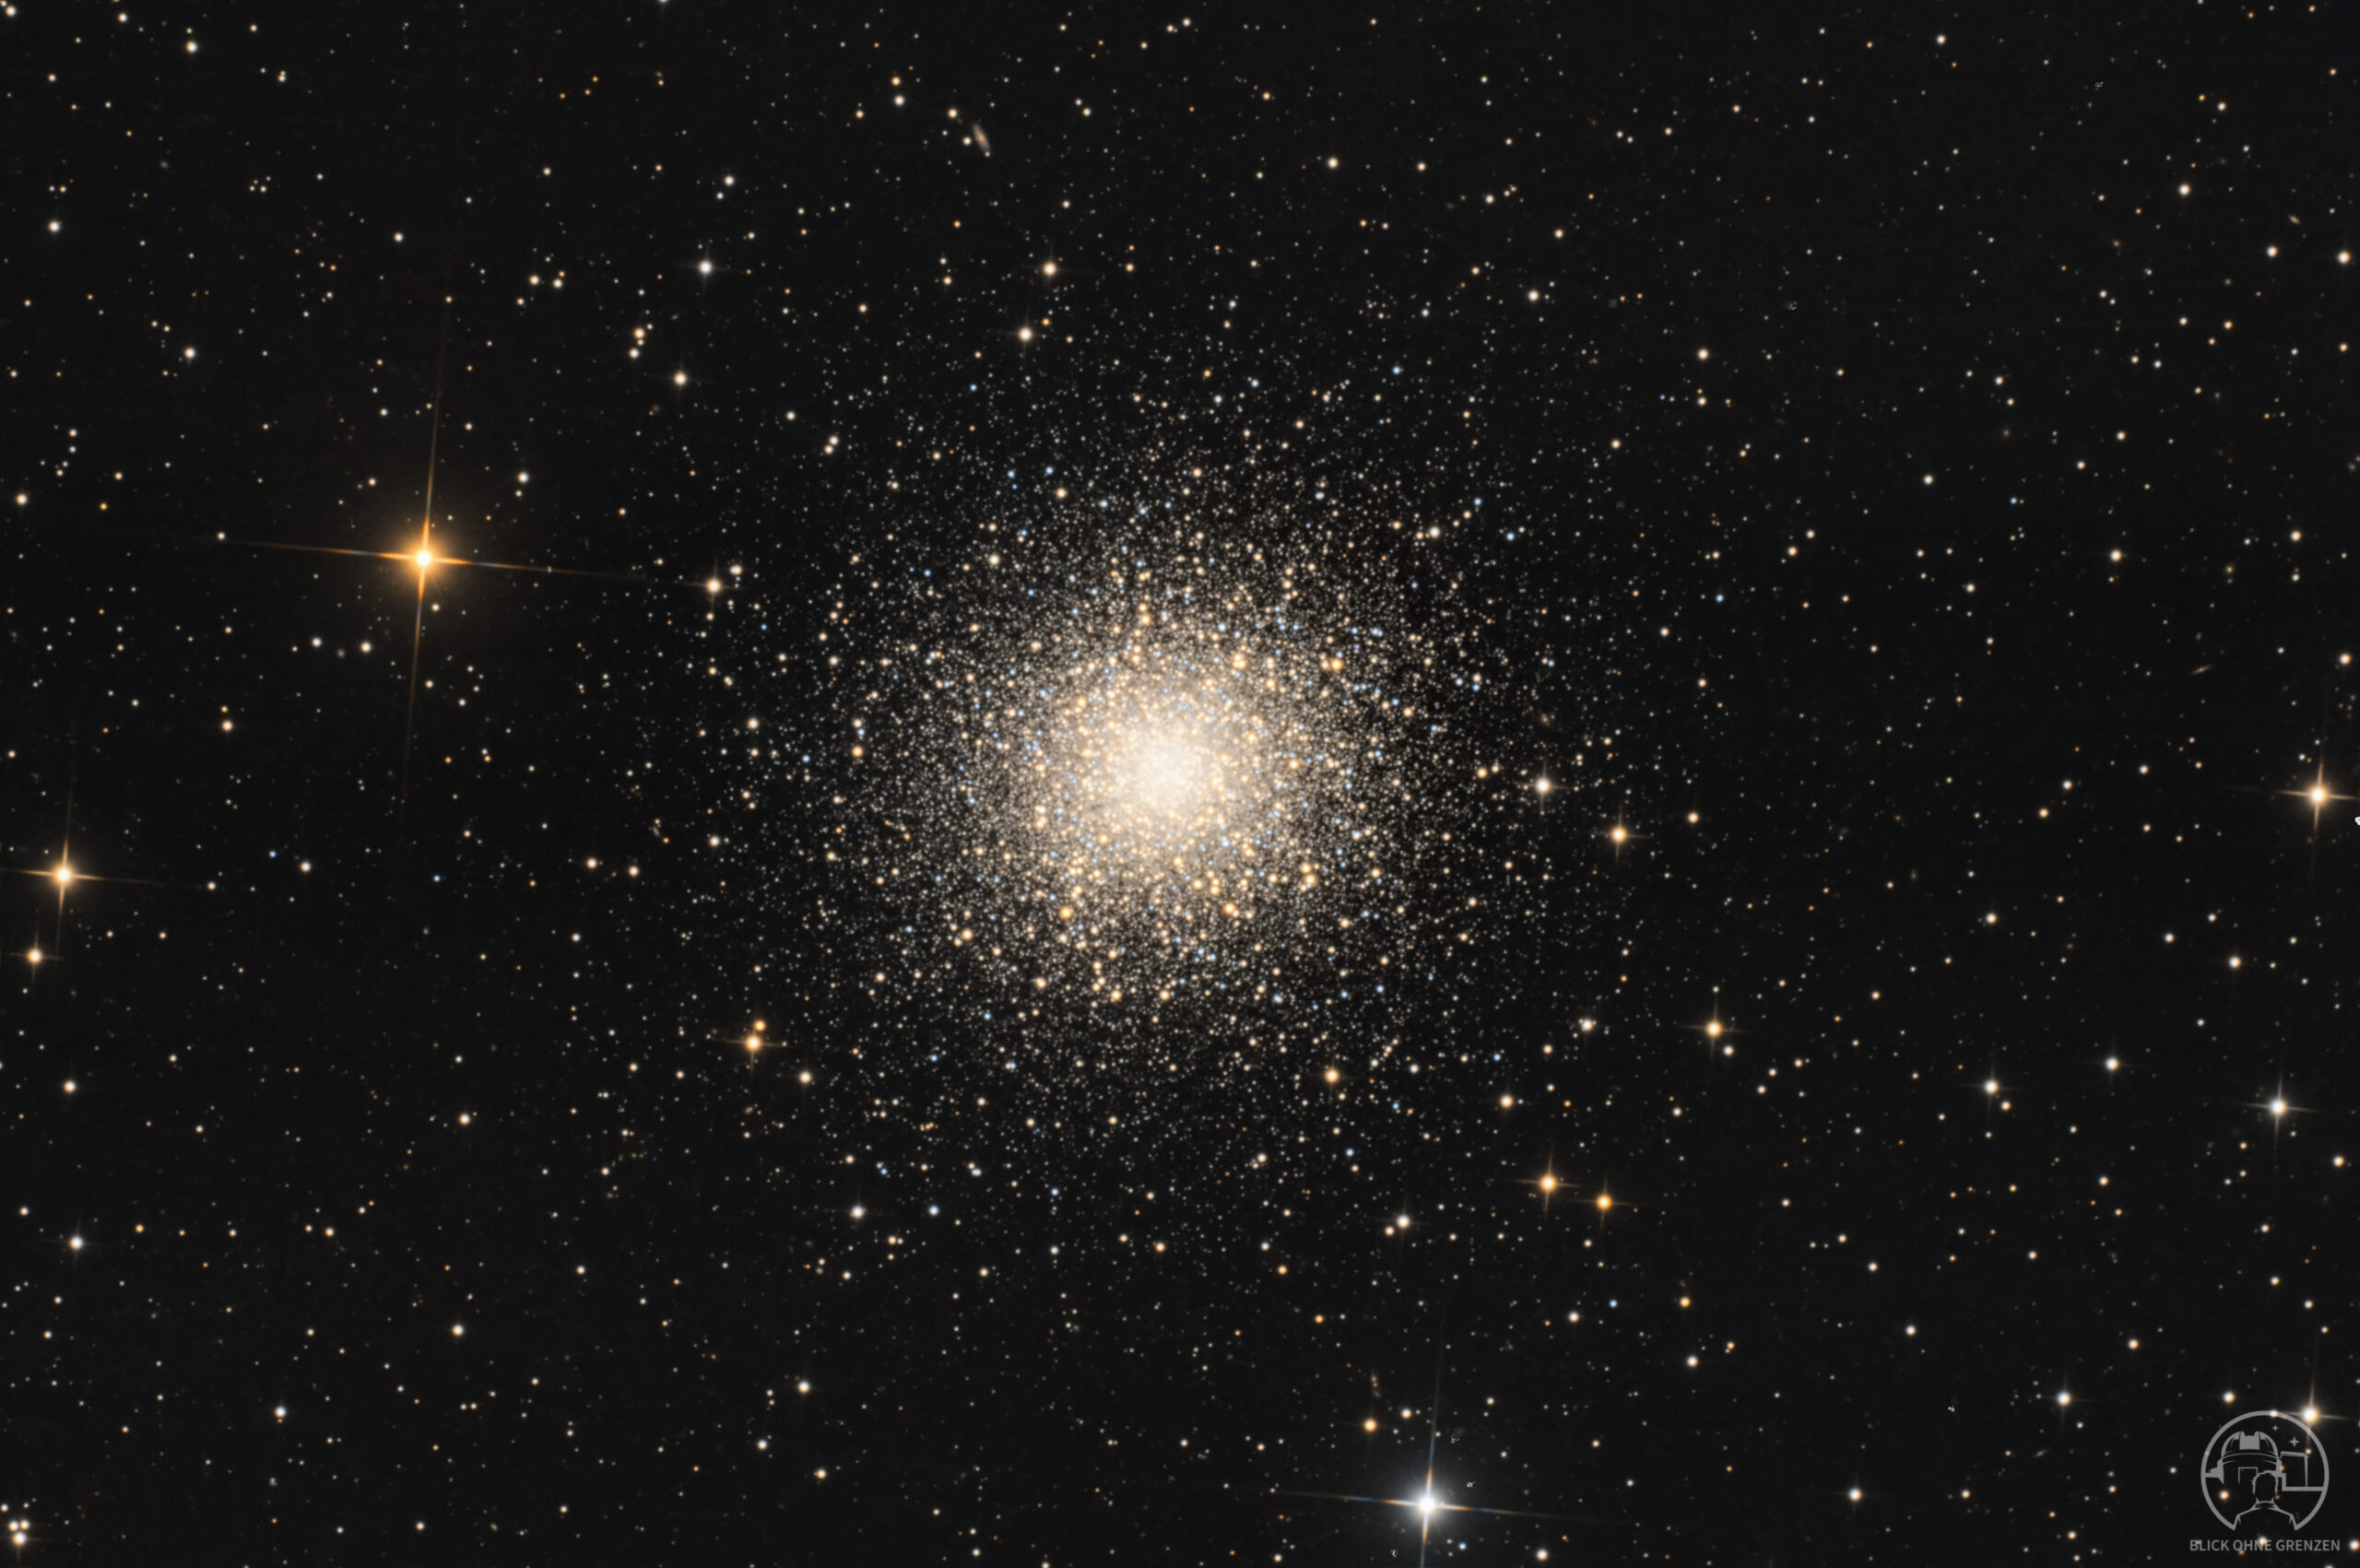
You can see the finished image of Messier 1 here view.
Supplementary explanations of the steps
Why Sharpen and De-noise in the Linear State? I deliberately perform sharpening with Cosmic Clarity and denoising via GraXpert while the image is still linear. The reason for this is simple: at this stage, the image data is still unadulterated and directly linked to the captured light. Algorithms can separate noise and details much more precisely here, before stretching artificially amplifies any errors or image interference.
The advantage of early star merging A common problem in astrophotography is artifacts after star removal. If the starless image is processed very aggressively, the originally removed stars often no longer fit seamlessly back into the gaps. By using the VeraLux StarComposer directly after the initial stretch, the transitions remain natural. Further detail steps such as Revela or HDR Multiscale then have a more harmonious effect on the overall image.
VeraLux Hypermetric Stretch vs. Standard Methods Instead of manually bending the image via histogram transformations, this script-based approach uses logarithmic scaling. This protects the highlights from blowing out too quickly while the faint signals are already being lifted. “Target Bg” serves as your rough guideline for the desired stretch intensity.
Thank you for reading and, as always, clear skies
Yours, Dimi